DIGITAL BRIDGE

USE DIVIDE

Google Suite

Security


Google Mail

Google Docs

Back

Youtube

Back

Personal Information

Viruses

Phishing

Back

Creating a Google Account

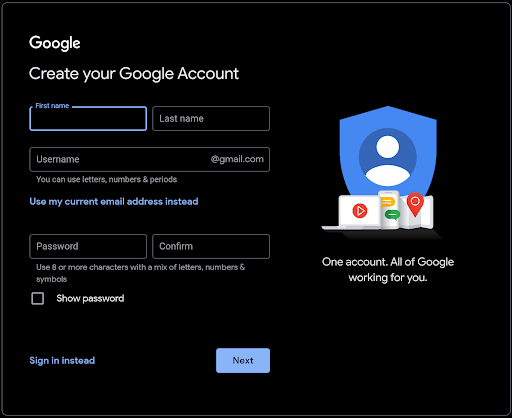
In Google Chrome type in “Google Sign Up” there should be a link that says “Create a Gmail Account”. By clicking on this link and pressing the button “Create Account”, you should see the following information above.

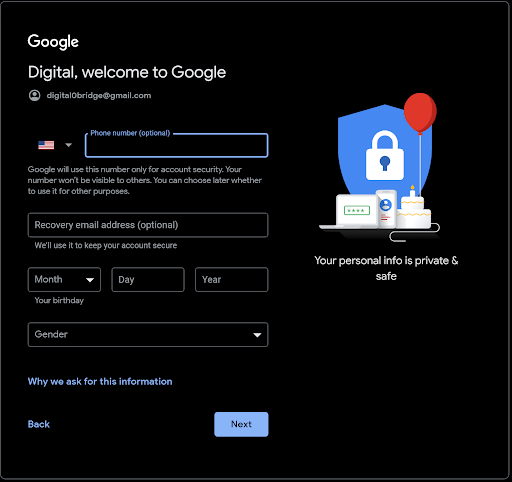
Type in the information that they wish to know. When creating your email Google will ask that it is unique, so you may have to try a few times to find an email which isn't already taken.
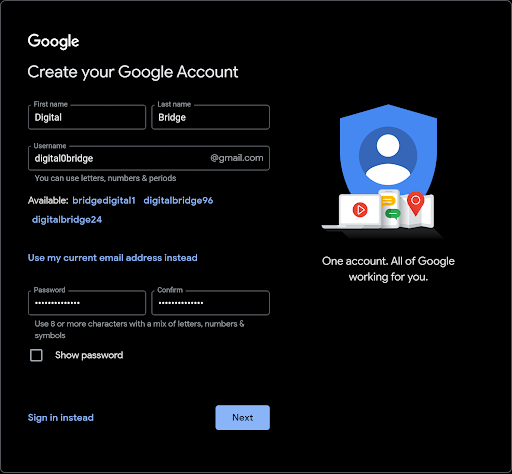
If you have a hard time creating an email yourself, google will try to offer suggestions based on what you wrote in order to give you a unique name. This is indicated above with the blue words after “available”.
Lastly, create your password. In order to do so follow the rules that Google provides. Please make sure it is easy for you to remember, but isn't something that others could guess. Once you have chosen your password hit next.
They will ask for you to verify you're phone number with a text that they sent you — Take the #'s after the G and type them into the respective space give and hit the verification button.

This screen should pop up once you have successfully verified your phone number. Now you may add an already existing email to help with password recovery (discussed in later lectures). Other than that please fill out your respective information.

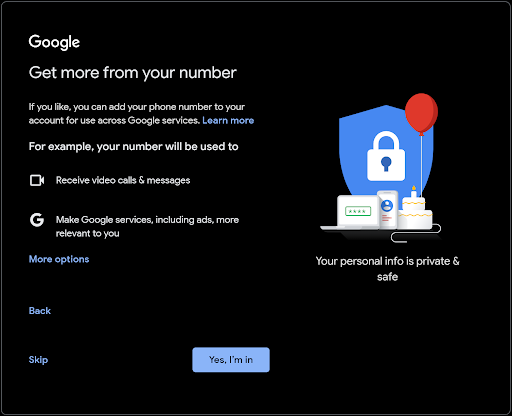
This notification may display on your screen. By saying yes you will have access to the features listed above, but if this holds no purpose for you please hit skip.

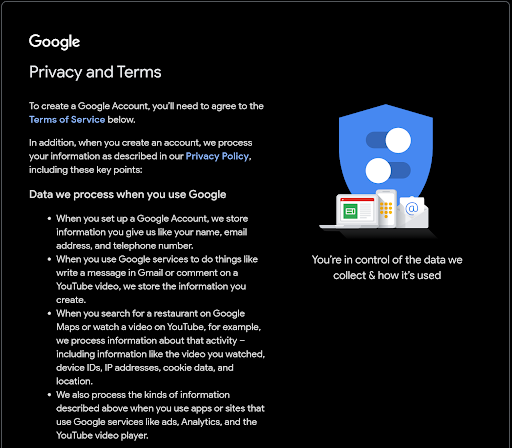
Finally, there will be a “document” that lays out the Policy and Terms, which is the rules and regulations of Google's services. Hit I agree once you have looked over them.

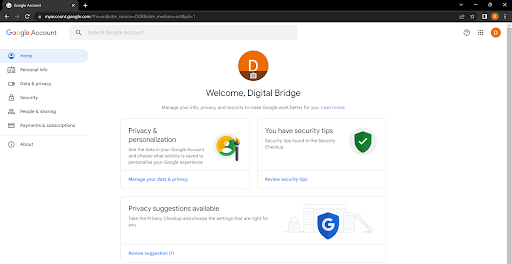
Adding a Profile Picture

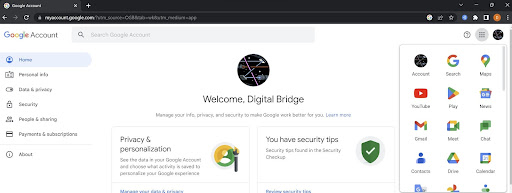
To add a profile pic please click the icon that has the first letter of your name, followed by “Manage Google Account”

Select the circular logo in the top center of the page.

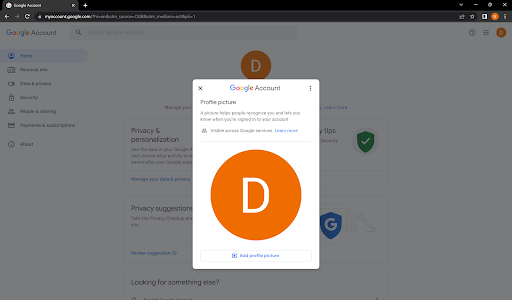
From there you should be able to click on “Add a profile picture”. After hitting this, there should be a vast collection of photos you can choose from.

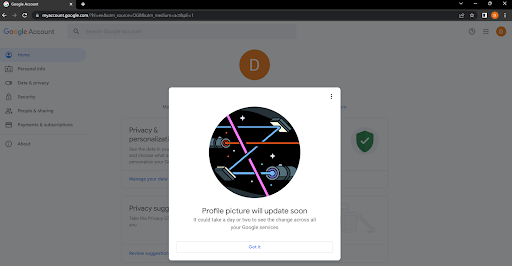
Once you have chosen the picture best suited to your liking, pick any color scheme that you may like followed by “Save a profile picture”. From there you should be able to see your new profile picture hass been added to your account.
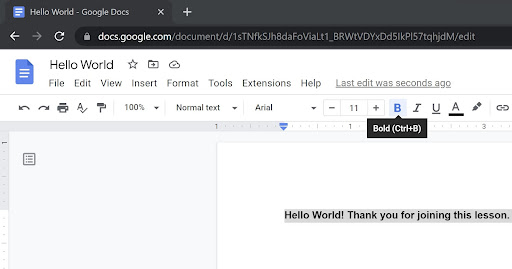
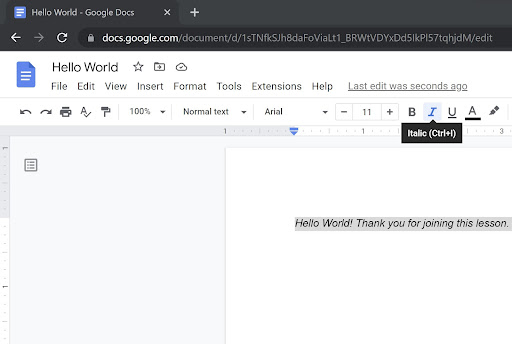
Writing an Email

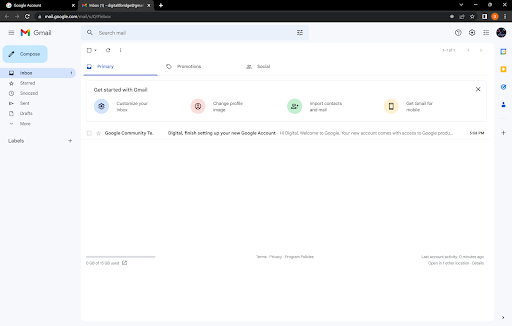
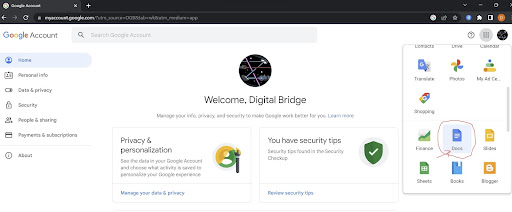
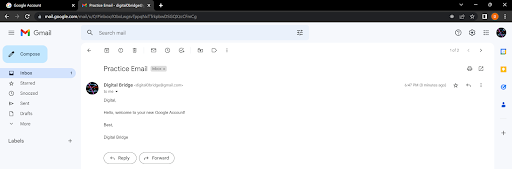
From that same page, select the square that consists of 9 dots. From there, hit the “Gmail” logo. After this, you should see the second picture shown above.

Take a look at the box menu to the left of your screen. This is where most of your Gmail functionality resides. Inbox: this is the “box” where any and all emails sent to you will come in. You can click on any email that resides in this box and read it's contents.

  • Starred: a special “box” where any messages you mark as important will reside.
  • Snoozed: this box will hold any messages that you decide to snooze. By snoozing a message gmail will resend you an email at a later date/time that in convenient for you.
  • Sent: Any emails that you send will be saved here.
  • Drafts: Any messages that you have written up but haven't sent quite yet will be here.

If you hit “Compose” you should see this box pop up in the bottom right-hand corner. This is the box you will write all of your messages in.

  • To: This is where you will enter all the email of the person you wish to send an email to. Note that you can list multiple emails here in order to send it to 2 or more people.
  • Subject: Think of this as the title of an essay. This is the first thing the reader of the email sees. The subject should match the contents of the email.
  • Cc: allows you to add in someone to an email to read the email, but the message is not intended for them specifically.
  • Bcc: This allows you to send emails to multiple people but does not let the receivers see each others email addresses.
Now take a look an the bottom of this same box, you should see an array of icons. The first and most important, the send button. If you click the down arrow you'll see the option schedule send.
This schedule send option lets you send a message at a specific time in the future. If you simply click send it will send the message immediately.
The next most important icon is that of a paper-clip. This allows you to attach files from your computer into your messages. File types you can add PDFs, photos,videos, and word documents.

Answering Emails

You will also need to respond to your emails. Once you click on the email you'd like to open, you will see a page similar to this one. In order to respond to the person who sent the email use “Reply”.
To send the email to someone else, use “Forward”.

Logging Out of Your Account

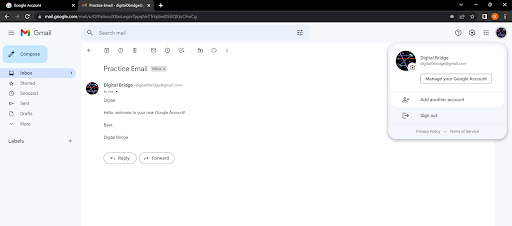
If you are not using your Gmail on a personal computer you should always log off. To do so, click your icon at the top right and hit sign out.

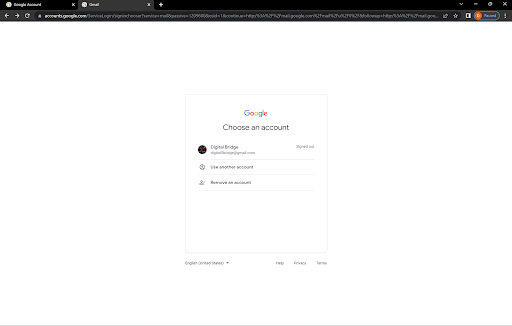
After that, you will see a page like the picture above. To continue with the course click on your name again, and type in your password.

Opening Google Docs

Once you have created your gmail account, click on the side icon as shown above and scroll down until you see the Google Docs logo.

After opening Google Docs, select "Blank" to open a new page.

How to modify the text you are using

In order to make your text bold you would need to highlight your text by dragging your cursor across the words. Then, click on the 'B' icon to make your text bold.

Similarly to bolding your text, highlight your text and click on the 'I' icon to italicize your text.

Click on the 'undo' button (found in the top left corner) as shown above to remove recent changes.

Click on the 'redo' button (found in the top left corner) as shown above to bring back your recent changes.

In order to change the font, click on the box as shown above and pick your preferred font.

In order to change the size of your text/ font, highlight your text and click on the plus ('+') or minus ('-') button on either side of the box to change the size of your text.

Click on the 'Bulleted List' button (found on the right end of the tool bar) to create bullet points.

Click on the 'Numbered List' button (found on the right end of the tool bar) to create a list with numbers.

To insert an image: hover over the image tab as the arrow shows and then click on upload from the computer and choose an image that you would want to upload from your folders.
Note: You can minimise by clicking on the image and moving the corners.

How to share your document

Click on the share button.

Once you click on restricted, you could change the general access to “anyone with the link”.

You have the option to change the role as:

  • Viewer (the person whom you shared your code with can view your document)
  • Commenter (the person whom you shared your code with can comment on your document)
  • Editor (the person whom you shared your code with can edit your document)
Then go to the “Add people and groups” tab and write down their gmail addresses. If you need a refresher on how to create a gmail, go here.

Opening YouTube and Finding a video

Once you are logged into your google account, click on the YouTube icon.

Once you have clicked on the YouTube icon, you can either scroll down to see what videos you would want to watch or click on the tab next to the magnifying glass and type in the name of the video that you would want to watch.

Once you have searched for the video that you want to watch, click on any video that you would want to watch.

YouTube Video Controls

  1. The play button: Plays the video
  2. The skip button: skips to the next video.
  3. The volume button: changes the volume of the video.
  4. The cc button: Adds subtitles to the video.
  5. The settings button: Within settings you have two main functions:
    • The playback speed: You can change the speed (slow down or speed up) of the video.
    • Captions: You can switch on the captions and change the language of the captions.

  1. The subscribe icon: You can click on the subscribe button to get messages whenever that channel posts a new video.
  2. The Like icon: You can click to like the video.
  3. The Dislike icon: You can click the icon to dislike the video.
  4. The share icon: You can click the share icon to share the video with other people.
  5. The download icon: You can click the download icon to download the video.
  6. The Add comment line: You can start writing a comment about the video and reply to other people's comments.
Note: Please be aware of the online etiquette when commenting on other people's posts and writing your own comments.

Definition

Viruses are a type of harmful software that would end up spreading to other computers. The virus could cause a number of issues such as: slow down the performance of the computer, corrupt the files on your computer, and cause applications on your computer to fail.

Common ways to get them:

Read More

To read more about computer viruses, click here.

Definition

Phishing is a type of fraud email or message that would be sent to users posing as a trustworthy company asking for your personal information.

How to spot phishing:

Here are some of the ways to spot phishing:

  1. Poor grammar and spelling.
  2. Asks for login email or password, credit/debit card number, address or any other personal information.
  3. The name of the person sending the email as well as their email address would look fake.
  4. The email would start with a non-personal greeting.
  5. The attachment in the email would look suspicious.
  6. The tone of the phishing emails would be urgent and would provide you with a link.

How to protect yourself from phishing emails:

Here are some tips to protect you from phishing emails: